Installing a Toilet Installation Button: Quick Guide
Installing a Toilet Installation Button
Understanding the Components of a Toilet Installation Button
Exploring the Button Mechanism and Functionality
When installing a toilet installation button, understanding its mechanism and functionality is crucial. These buttons typically operate on a dual-flush system, offering users the option of a full flush for solid waste and a partial flush for liquid waste, thereby promoting water conservation.
Contents
ToggleIdentifying Compatible Toilet Models and Button Designs
Not all toilets are created equal, and neither are their installation buttons. Before diving into installation, it’s essential to identify the compatibility of the button with your toilet model. Button designs vary, from sleek and modern to more traditional styles, ensuring you find one that complements your bathroom aesthetics seamlessly.
Step-by-Step Guide to Installing a Toilet Installation Button
Preparing the Toilet Tank and Work Area
Before getting your hands dirty, make sure to shut off the water supply to the toilet and drain the tank completely. This step prevents any unwanted leaks or spills during installation. Additionally, clear the work area around the toilet to ensure easy access to the tank.
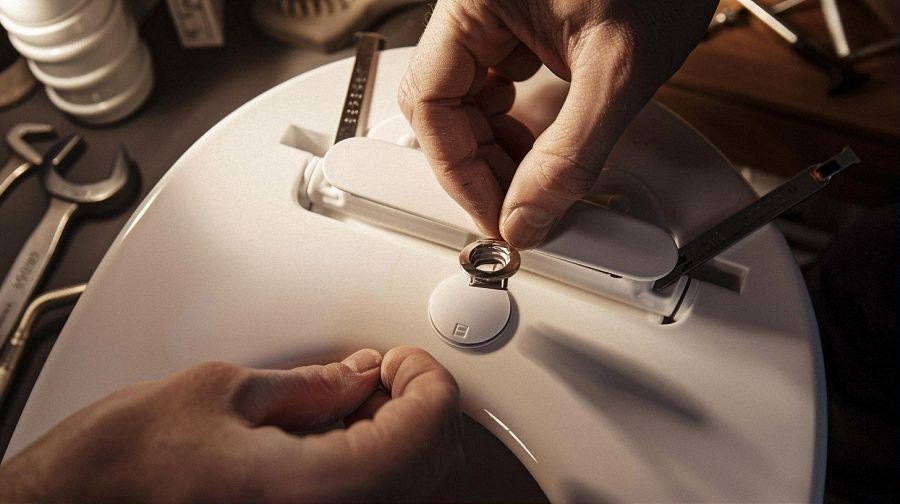
Attaching the Button to the Toilet Tank
Start by removing the toilet tank lid and locating the pre-drilled hole for the button. Insert the button through the designated opening, ensuring a snug fit. Depending on the button model, you may need to secure it in place using screws or adhesive provided in the installation kit.
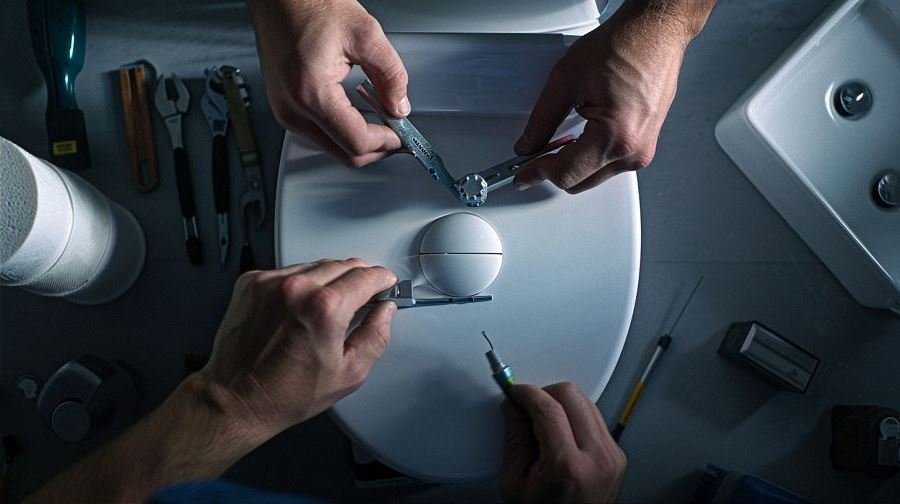
Connecting the Button Mechanism to the Flush System
With the button securely in place, it’s time to connect its mechanism to the flush system. Follow the manufacturer’s instructions carefully, as the process may vary depending on the button’s design. Typically, this involves attaching a cable or rod from the button to the flush valve inside the tank.
Troubleshooting Common Issues During Installation
Addressing Leakage Problems
Leakage is a common concern during toilet button installation, often caused by improper sealing or loose connections. To tackle this issue, double-check all seals and connections, ensuring they are tight and secure. If leakage persists, consider replacing faulty seals or seeking professional assistance.
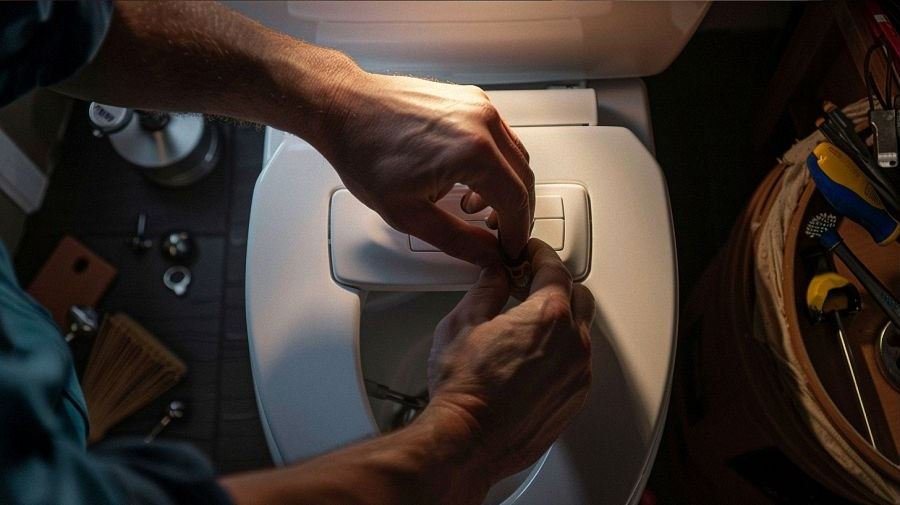
Resolving Button Alignment and Functionality Issues
Sometimes, the button may not align correctly with the flush valve, leading to functionality issues. In such cases, adjust the button’s position or mechanism as needed to ensure smooth operation. Additionally, test the button multiple times to confirm its responsiveness before finalizing installation.
Dealing with Compatibility Challenges and Adaptation Solutions
If you encounter compatibility challenges during installation, don’t panic. Explore adaptation solutions such as using universal installation kits or seeking guidance from experts in the field. With a bit of creativity and problem-solving skills, you can overcome compatibility hurdles and successfully install your toilet installation button.
By following this comprehensive guide, you’ll be well-equipped to tackle the installation of a toilet installation button with confidence and ease. So, roll up your sleeves, gather your tools, and let’s get started!
How to Install a Button
Understanding Button Types and Applications
Exploring Push Buttons, Toggle Buttons, and Remote Control Options
Before diving into button installation, it’s crucial to grasp the diverse types and applications available. Push buttons, commonly found in various electronic devices, offer a straightforward mechanism—press to activate. Toggle buttons, on the other hand, provide a switch-like functionality, toggling between two states with each press. Additionally, remote control buttons enable wireless operation, adding convenience and flexibility to your setup.
Assessing the Functionality Variations Across Different Button Models
Not all buttons are created equal. Each model boasts unique functionalities and features tailored to specific applications. When selecting a button for installation, consider factors such as durability, responsiveness, and compatibility with existing systems. Whether you’re enhancing your gaming experience with tactile feedback buttons or streamlining home automation with touch-sensitive controls, understanding these variations ensures optimal performance.
Step-by-Step Guide to Button Installation
Preparing the Installation Area and Necessary Tools
Before embarking on the installation journey, gather your tools and prepare the designated area. Ensure you have the necessary equipment, including screwdrivers, drills, and measuring tape, to streamline the process. Clear the installation site of any obstacles and debris, providing a conducive environment for seamless button integration.
Mounting the Button on Various Surfaces (e.g., Walls, Cabinets)
With your tools at the ready, it’s time to mount the button on your desired surface. Whether affixing it to a wall, cabinet, or control panel, follow the manufacturer’s guidelines for precise placement. Utilize mounting brackets or adhesive tapes for secure attachment, taking care to align the button properly for ergonomic use.
Wiring and Connecting the Button to the Desired System or Device
Once the button is securely mounted, it’s time to establish its connection to the designated system or device. Depending on the button’s functionality, this may involve wiring it directly to a circuit board or connecting it wirelessly via Bluetooth or Wi-Fi. Follow the wiring diagrams provided in the instruction manual, ensuring each connection is secure to prevent malfunctions.
Optimizing Button Performance and Maintenance Tips
Adjusting Button Sensitivity and Response Time
After installation, fine-tuning the button’s sensitivity and response time can enhance user experience. Most buttons feature adjustable settings to accommodate individual preferences, allowing you to customize the tactile feedback and responsiveness to your liking. Experiment with different settings until you find the perfect balance between usability and efficiency.
Cleaning and Maintaining Button Surfaces for Longevity
To prolong the lifespan of your installed button, incorporate regular cleaning and maintenance into your routine. Use a soft, damp cloth to gently wipe away dust and debris from the button surface, preventing buildup that could impede functionality. Avoid using harsh chemicals or abrasive materials, as these may damage the button’s finish or components.
Enhancing Button Integration with Smart Home Systems and IoT Devices
As technology continues to evolve, so do the possibilities for button integration within smart home systems and IoT devices. Explore advanced features such as voice command integration, motion sensing capabilities, and compatibility with virtual assistants like Alexa and Google Assistant. By harnessing the power of interconnected devices, you can create a seamless and intuitive user experience tailored to your unique needs.
With this comprehensive guide, you’re ready to embark on your button installation journey with confidence and expertise. So, roll up your sleeves, grab your tools, and let’s bring your vision to life!
How to Assemble a Clothes Button
Overview of Clothes Button Types and Materials
Exploring Varieties Such as Sew-through, Shank, and Snap Buttons
When it comes to clothes buttons, the options are plentiful. Sew-through buttons, the most common type, are attached by sewing through holes on the garment. Shank buttons feature a protruding loop on the back, allowing space between the button and fabric for thicker materials. Snap buttons, also known as press studs, offer a convenient alternative with interlocking components for quick fastening.
Assessing Materials: Plastic, Metal, and Natural Options
Buttons come in various materials, each offering unique aesthetics and functionalities. Plastic buttons, lightweight and budget-friendly, are ideal for casual wear and children’s garments. Metal buttons, including brass, stainless steel, and pewter, exude durability and sophistication, perfect for formal attire. Natural options such as wood and shell buttons add a touch of eco-friendliness and rustic charm to any ensemble.
Step-by-Step Guide to Assembling Clothes Buttons
Preparing the Garment and Button Placement
Before diving into button assembly, ensure your garment is clean and free of wrinkles. Mark the button placement using fabric chalk or pins, ensuring proper alignment and spacing for a polished look. Take into account factors such as button size and garment thickness to determine the most suitable placement.
Sewing Techniques for Different Button Types
Depending on the button type, various sewing techniques are employed for secure attachment. For sew-through buttons, thread the needle with a double strand of thread and sew through the buttonholes multiple times for reinforcement. Shank buttons require creating a thread shank by wrapping thread between the button and fabric before securing with stitches. Snap buttons are affixed using specialized tools or sewing machines for precise placement and stability.
Adding Reinforcement for Durability and Longevity
To enhance button durability and longevity, reinforce the attachment points with additional stitching. Create a thread shank or add a button reinforcement patch on the backside of the fabric for extra support. Knot the thread securely and trim any excess to prevent unraveling over time. These simple reinforcements ensure your buttons withstand frequent wear and washing without loosening or falling off.
Exploring Creative Button Applications and Customization Options
Embellishing Garments with Decorative Button Styles
Buttons aren’t just functional—they’re also an opportunity for creative expression. Experiment with decorative button styles such as novelty shapes, intricate designs, and embellished details to add personality to your garments. Mix and match button colors and textures to create eye-catching accents that elevate your wardrobe.
Utilizing Button Crafts for Upcycling and DIY Projects
Don’t limit buttons to clothing—explore their potential in crafts and DIY projects. Transform old garments into trendy accessories or home decor items by incorporating buttons into your designs. From button earrings and brooches to button-embellished pillows and quilts, the possibilities are endless for upcycling and repurposing buttons in imaginative ways.
Incorporating Alternative Fastening Methods Beyond Traditional Buttons
While buttons are a classic choice for garment fastening, consider alternative methods for added versatility. Explore options such as hook-and-eye closures, Velcro strips, or fabric snaps for easy closure and adjustment. These alternative fastening methods offer convenience and flexibility, especially for individuals with mobility or dexterity challenges.
With these insights and techniques, you’re ready to master the art of assembling clothes buttons like a pro. Whether you’re customizing a handmade garment or repairing a beloved piece of clothing, attention to detail and creativity are key to achieving professional-looking results. So, gather your materials, thread your needle, and let your button assembly journey begin!
